Contents [hide]
Intro
Mongolia offers a visa free stay to over 60 nationalities as of 2023. They are exempt from applying for a visa to enter Mongolia and can stay for either 30 or 90 days which are the most common periods of stay.
You can of course go to one of the Immigration Offices and apply for an extension in person. There are six Immigration Offices spread across Mongolia which can assist you with an extension of your stay. However, you might not be close to one during their opening hours or perhaps you don’t want to deal with queuing up and filling physical forms. If you are one of those, you’ll be happy to hear that there is a way to apply online for the visa extension. It’s easy and fast as long as you know what to do. Read on and I’ll guide you through the process step-by-step.
This guide is aimed at those on a visa free scheme and not for those nationalities who entered Mongolia on eVisa. The Immigration Agency of Mongolia’s main website has an English interface but the online portal is all in Mongolian. The screenshots in this guide is based on a Google translated version from Mongolian to English. To be able to follow the guide I would advise to use a browser with a Google translating function like Chrome.
To summarize the process, you need to upload
- application text
- passport’s info page
- entry stamp
- receipt for paid visa extension fee
The extension fee is paid as a bank deposit and payment via an international credit card is currently not available. Once all the documents are uploaded, you submit your application and you will be notified by email once they are done processing it. The process time takes from 3 to 5 working days but my experience is that they process the applications within 1 day. You have to apply for an extension of your stay in Mongolia at least 5 working days prior to the expiration of the visa free period.
Let’s get started!
Creating a user in the Electronic Service System
To make it easier for yourself you can begin by creating a user here and then log in. If you do this and click the button in step 2 it will bring you straight to step 6 reducing the number of pages, links and boxes you need to click.
Please note that this website is not accessible outside of Mongolia and you will get an error message shown in your browser if you try to do so. Do not worry, it will work as soon as you access the website from Mongolia.
To register as a user you have to enter an email address and a phone number. I recommend getting a local phone number before signing up. In case there are any mistakes with your application or if the Immigration Agency needs to contact you for any other reason, having a local phone number comes in handy. You can sign up with your foreign phone number without any issues so the local phone number is not a requirement to create a user.
In addition to this you will need to enter your name, registration number and passport number. As the registration number I used my national ID number.
There’s also a section where you can fill in information on the organization you represent (company registration number, company name and company state registration number). I left these fields blank as they are intended for locals.
Once you have submitted your user data, you will receive an email with login name and password. Go ahead and log in and continue to the next step.
Doing the online application
STEP 1: Go to immigration.gov.mn. This website has an English interface (look for the language drop down menu at the top of the page). Here you’ll see details on the visa extension together with a list of fees and also the bank account details where you will need to deposit the fee amount. There’s also a nice little blue button named Get online service.

STEP 2: Click the ‘Get online service’ button. You will most likely arrive at a login page on their online portal which is not in English. Log in if you have a user. If you didn’t already create a user, then do so by clicking ‘REGISTER NEWLY | SIGN-UP’ and follow the steps. Sign in with the user you created. However, if you already are signed in from a different browser tab or window, you might arrive at a list of visa extension categories and can begin straight away with the application. If you see this list go step 6. Otherwise, go to step 3.

STEP 3: Once you are logged in select the tab name SERVICES and click the VISA EXTENSION box which will bring you to a new page.

STEP 4: Here you will need to click on another ‘VISA EXTENSION’ box to begin your actual application.

STEP 5: Select EXTENDING THE PERIOD OF STAY OF A TEMPORARY FOREIGNER which will bring you to a new page.

STEP 6: On this page you will see a list of categories. It’s important you select the correct one or else your application will be rejected and you need to make a new one (yes, that happened to me). Check if you belong to a visa free or visa exempt country here or here. If you belong to a visa free country then select the VISA EXEMPT COUNTRIES box.

Uploading application documents
After selecting the correct category you will get to a new page where you can begin uploading the documents. You have 3 panes where you need to upload documents. The 4th and final pane will submit your application.

TAB 1: In the first one goes your application text. In a Notepad I wrote down my full name, local phone number, address (here I listed the hotel I was staying at) and a short explanation of why I want to extend my stay (I wrote I would cycle across Mongolia which would take me up to 60 days and listed some the bigger cities I would pass). I saved it as a JPG as they don’t accept PDF or TXT files.
TAB 2: In the second tab I uploaded my passport’s info page and photo of my entry stamp. You will also have to fill in your passport details.
TAB 3: In the third and final document tab you upload the receipt from the bank deposit. See this section on how to pay the visa extension fee. As soon as you have completed step 6 you will get an Electronic Request Number. You need to write this number on the bank deposit slip which is very important. This means you can’t pay the extension fee before you have reached this step.
TAB SEND: When you are done uploading the documents, go to the ‘Send’ tab and submit your application.
Your application will be listed here where the status of your application is shown together with the extension category and the date the application was submitted. Double check that the category is shown as Visa exempt countries. On the same page further down, you can see all the different process levels. Your application status will be updated to reflect the current process. When fully processed, you will receive an email notification.

Paying the visa extension fee
Unfortunately, you can’t pay the extension fee online with an international credit card or by a local credit card for that matter. You will have to visit a physical bank. There are 13 commercial banks which are operational in Mongolia and I don't know if you can pay the fee in all of them. Khaan Bank is the most widespread one from what I saw when traveling through the country and I am curious to know if anyone succeeded in paying the fee via this bank. I paid my fee via Golomt Bank which was successful.
Make sure to explain that you are making a deposit and not a payment or transfer. The bank initially said they couldn’t help me pay the fee until I explained I only needed to do a bank deposit. Then I got a form to fill out which actually had deposit slip written on it in English.
Make sure to write the 11-digit Electronic Request Number as a note or description text on the deposit slip and also mention the number of days you want to extend in the same field. Double check with the fee list so you are sure you are paying the correct amount. I paid Golomt Bank a separate fee of 500 Tugrik to process the deposit.

My deposit slip looked like this when it was all filled out and paid. Unique information on my payment is marked out with orange. In two of the fields I filled out the Electronic request number together with the amount of days I wanted to extend and in another I signed for the deposit. The bank teller’s signature and transaction ID is also marked out with orange.

Getting the extension stamp in your passport
If you get your application for a visa extension approved, you will receive a confirmation email. From that email it is not very clear if you need to get an actual extension stamp in your passport or if you can just exit the country without one. I have inserted the translated wording below as a direct quote from the confirmation email I received once my visa extension was granted:
Extension stamps can be issued at the Office of Immigration Agency of Mongolia in Ulaanbaatar or Regional departments in Aimag centers /optional before departure/, or at the Immigration Office at the port of exit /mandatory if not stamped yet/.
When I did the online application, I figured that I would receive an online confirmation with a barcode or something similar to show at the border when I left the country. This way, I would not need to spend time going to a Government Office. I didn’t risk going to the border without the extension stamp in my passport. And now you might think, why do I bother with the online application if I need to go to a Government Office in the end?
One advantage of doing the online application is that you can get the extension granted during your visa free period and then get the extension stamp during your extension period. This means less stress and more time to get the stamp.
The second advantage is that you don’t need to go to an actual Immigration Office to get the extension stamp. You can get the extension stamp in any Aimag aka Province capital which gives you a wider range of options.
If you are going for the extension stamp at the Immigration Office then head to one of these six locations:
- Ulgii/Bayan-Ulgii
- Khovd
- Sukhbaatar/Selenge
- Choibalsan/Dornod
- Dalanzadgad/Umnu-gobi
- Zamiin-Uud
If it is more convenient for you to get the extension stamp in an Aimag capital then see here for a list of different Aimags.
Getting the extension stamp at an Aimag capital might seem more complicated. For me it was not. The first Aimag capital I reached was Altai in Govi-Altai. I went into the main Government Office named ‘The Governor's Office’ and showed my visa extension confirmation email. They knew immediately what I was asking for and showed me into an office where I got the extension stamp. It all took no more than five minutes.
My extension stamp looks like this:

If you got your extension stamp in another Aimag, you are welcome to share the location and name of the Government building and I will add the location to this guide.
If you didn’t get your extension stamp and you were able to leave the country during your extension period, then drop me an email and I will add it to the guide.
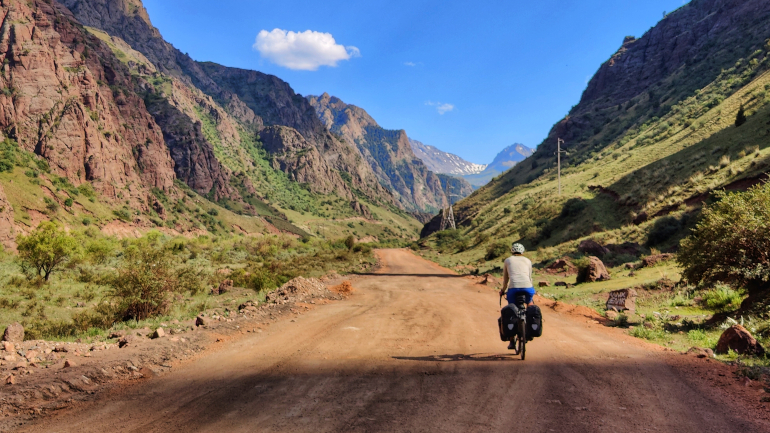
biketouring journal kyrgyzstan
2023-08-04 | blog
Biketouring journal covering Kyrgyzstan and the roads from Osh to Bishkek. I cycled over the Kaldama Pass and Kara-Keche Pass to Son-Kul Lake and
onwards over the Kalmak-Ashuu Pass to Kochkor.
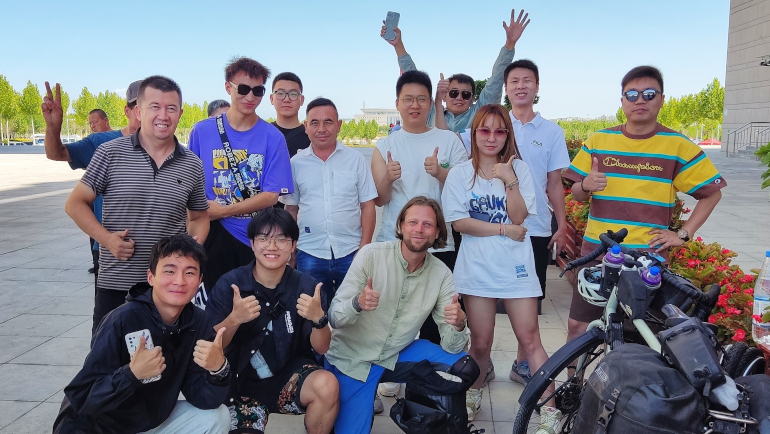
biketouring china
2023-11-04 | blog
Biketouring journal covering China and the crossing of Xinjiang from Kazakhstan and the Assy Plateau to Mongolia and the roads through Inner Mongolia to Beijing
and Qingdao. I traveled on my bicycle through police controls, empty deserts and den...